The previous homeowners never purchased a projector screen, and instead projected directly onto the wall of the home theatre. We’d always wondered why, but after searching for a suitable screen, we soon understood.
The projected image is cast into a nook in the wall, which, measuring a 95″ diagonal, is awkwardly between the popular 90″ and 100″ screen sizes. There are some nice 92″ fixed-frame projector screens available at excellent price points, but conceding an extra five inches of viewing area for a thick black border isn’t preferable in our already tight location.
So, the solution is to DIY a custom screen. Luckily there are several great guides on the Internet including a nice video that was easy enough to follow.
The only challenge is the usual one of living in Canada: our selection of parts and supplies is more limited. Whereas softwood lumber for the frame is plentiful, it’s hard to find projector screen material north of the border. The shipping fees alone for the often recommended FlexiWhite material from Carl’s Place in the USA can cost as much as the screen material itself, not to mention the additional risk of duties and other border fees.
We were able to find some good alternatives on Amazon.ca: QualGear makes some high-quality projection screens and they sell the replacement screens separately from the frame (Amazon Canada). Although the screens are pre-grommeted, the PVC material has just the right amount of elasticity to be stretched over your frame. It comes in a number of sizes, and in several options: white, grey, silver, and acoustically transparent. It ships on a roll (no worrying about creases), and best of all, it ships free and quickly.
As for a black border, several widths of JVCC “Flocking” tape are available from Amazon.ca. It still ships from the USA, and shipping can cost as much as the tape, but there are more width options available than can be found locally, and cross-border shipping via Amazon always gives more certainty to the final landed price including taxes and border fees.
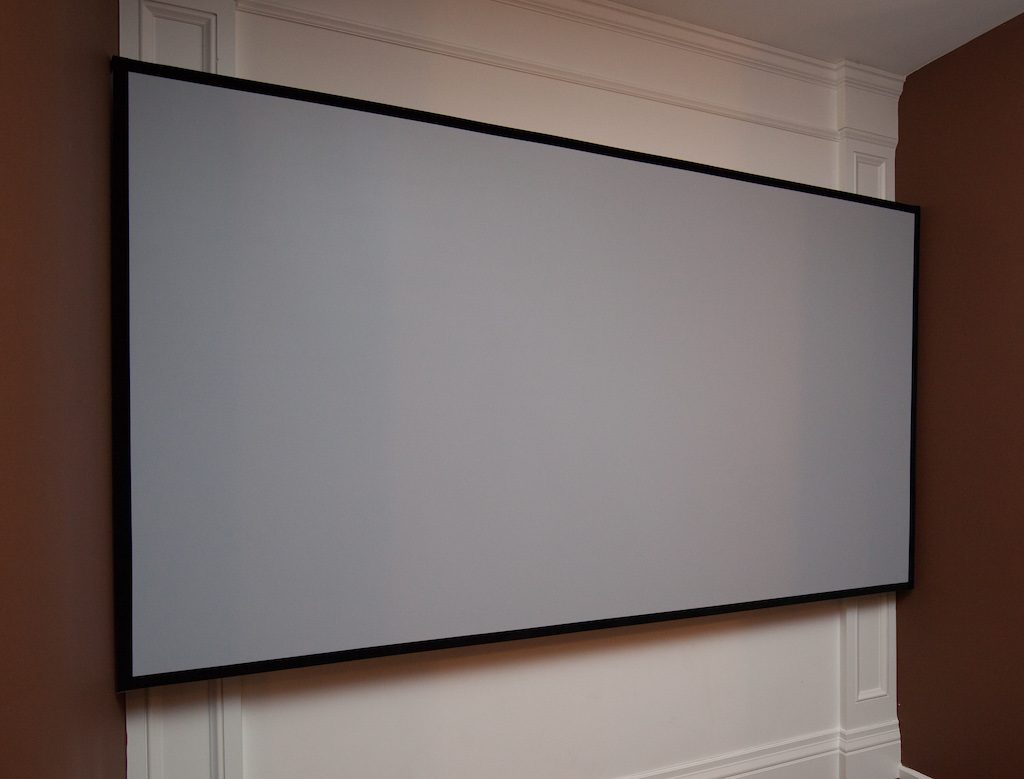
In the end we wrapped a 100″ QualGear screen in high-contrast grey around our custom wood frame. We also went for a minimalistic 1″ black flocking tape to maximize our viewing area. At $100 shipped, this was less than half the price of the Carl’s Place alternative, it looks great, and most importantly, the image quality during our movie nights is fantastic!